Most people think the steps of website development begin with picking colors or writing code. They do not—not even close. Before a single line of HTML is written, you need to define your goals, understand your audience, and plan the website’s structure. Skipping these essential steps can leave you with a website that looks decent but performs poorly.
We have seen it happen countless times: a business invests money in a website, then wonders why visitors are not converting, traffic is not growing, or the site simply feels “off.” The problem is almost always the process—or the lack of one. In this guide, we will walk you through every stage of website development, from the first question you should ask to what happens after you hit publish. We will keep it practical, realistic, and easy to follow so you have a clear roadmap for building a successful website.
What Is Website Development?

Credit: e9digital.com
First, let’s make sure we’re on the same page.
Website development is the full process of building and maintaining a website. It covers everything: the look, the feel, the code, the content, and the ongoing upkeep.
But inside “website development,” there are two distinct disciplines worth understanding.
Website Design
Design is about what the user sees and feels. It focuses on:
- Appearance: colors, fonts, images, brand identity
- Layout: how content is arranged on screen
- User experience: how easy it is to navigate and find things
A great design creates a positive first impression. And that impression forms fast. Users start forming opinions about a website in roughly half a second.
Website Development
Development is about what the user uses and experiences under the hood. It focuses on:
- Functionality: buttons, forms, menus, features that actually work
- Coding: the HTML, CSS, JavaScript, and backend logic powering everything
- Performance: how fast pages load and how smoothly the site runs
- Security: protecting user data and keeping the site safe
Both design and development must work together. A beautiful site that’s broken is useless. A functional site that’s ugly loses trust instantly.
And sometimes these roles are handled by the same person (a full-stack developer) or by separate specialists. Either way, both are essential.
Why Is a Proper Website Development Process Important?
Here’s the hard truth: most websites fail not because of bad design or bad code. They fail because of a bad process.
Without a clear website development strategy, you’re guessing. You’re making changes mid-build, launching without testing. You’re spending twice the budget fixing things that should have been right the first time.
A proper website development process gives you:
- Clarity before you spend a single dollar on development
- Alignment between your goals and what gets built
- Efficiency because every step feeds the next
- Quality because nothing is skipped or rushed
- Longevity because the site is built to grow, not just to launch
Now let’s get into the actual steps.
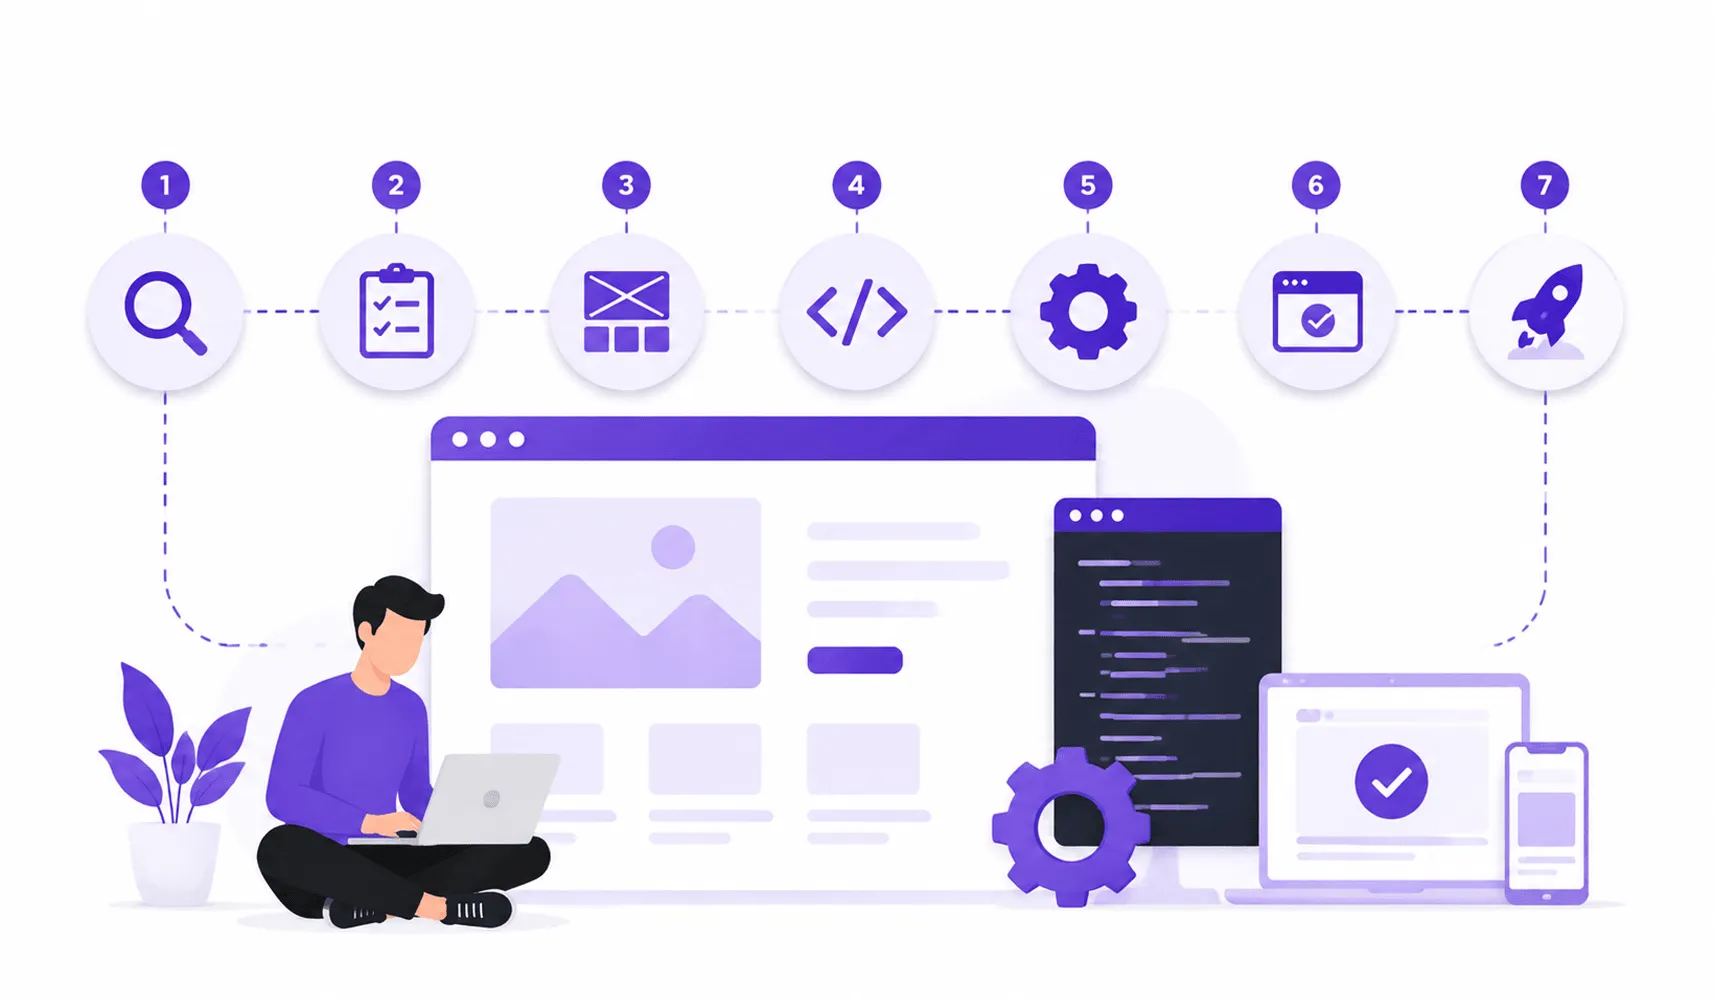
The Complete Steps of Website Development
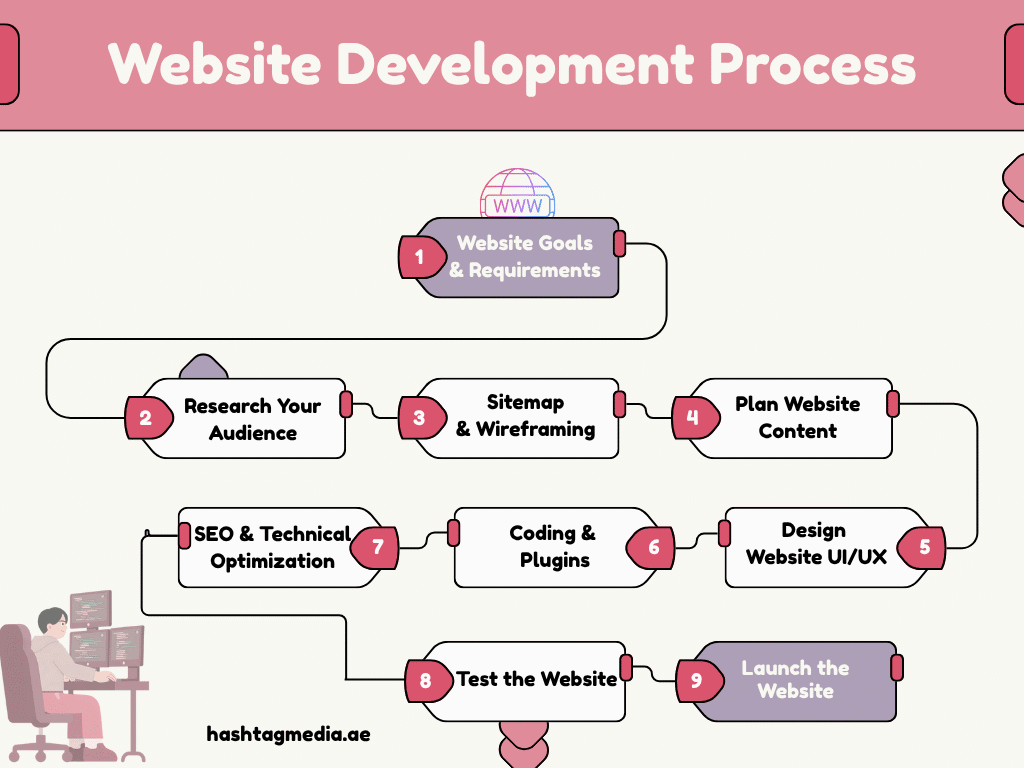
If you are starting out on a new website development project, here are a few steps you should follow:
Step 1: Website Goals and Requirements
Every great website starts with a simple question: What is this site supposed to do?
Before anything else, get crystal clear on your goals. Is this site meant to generate leads? Sell products? Build brand authority? Inform visitors? Support existing customers?
Write it down. Get specific.
A big part of this step is business analysis: taking stock of where your business stands, who your customers are, and what role your website plays in your overall website development marketing strategy. This isn’t just paperwork. It shapes every decision that follows.
Then move to requirements.
- Who are the key stakeholders?
- Which features are non-negotiable?
- How much can you invest in the project?
- When does the website need to launch?
This first step creates what the industry calls a “project brief,” your north star for every decision that follows. Teams that skip this stage often build feature-heavy websites that look complete but fail to support measurable growth.
Ask yourself:
- What is the primary goal of the website?
- How will success be measured six months after launch?
- Which pages and features are essential from day one?
Getting answers now saves you from expensive revisions later.
Step 2: Research Your Audience and Competitors
Now that you know what you want, figure out who you’re building it for.
Your audience should shape every design and content decision you make. What are their pain points? How do they browse? What makes them trust a business? What makes them click away?
Go beyond assumptions. Look at your analytics data (if you have a current site). Study your social media audience. Talk to actual customers.
Then look at your competitors. Not to copy them, but to understand the landscape. Where do they excel? Where do they fall short? What are they not doing that you could?
This is also a smart moment to do some risk assessment. What are the biggest threats to your project: tight timelines, unclear goals, budget gaps? Identifying these early in the website development process means you can plan around them instead of reacting to them later.
This research phase typically produces two useful deliverables:
- A user persona: a profile of your ideal visitor
- A SWOT analysis: strengths, weaknesses, opportunities, and threats
These two documents become reference points for your entire design and content team throughout the build.
Step 3: Create the Website Sitemap and Structure
Credit: hashtagmedia.ae
Now you know your goals. You know your audience. It’s time to plan the architecture.
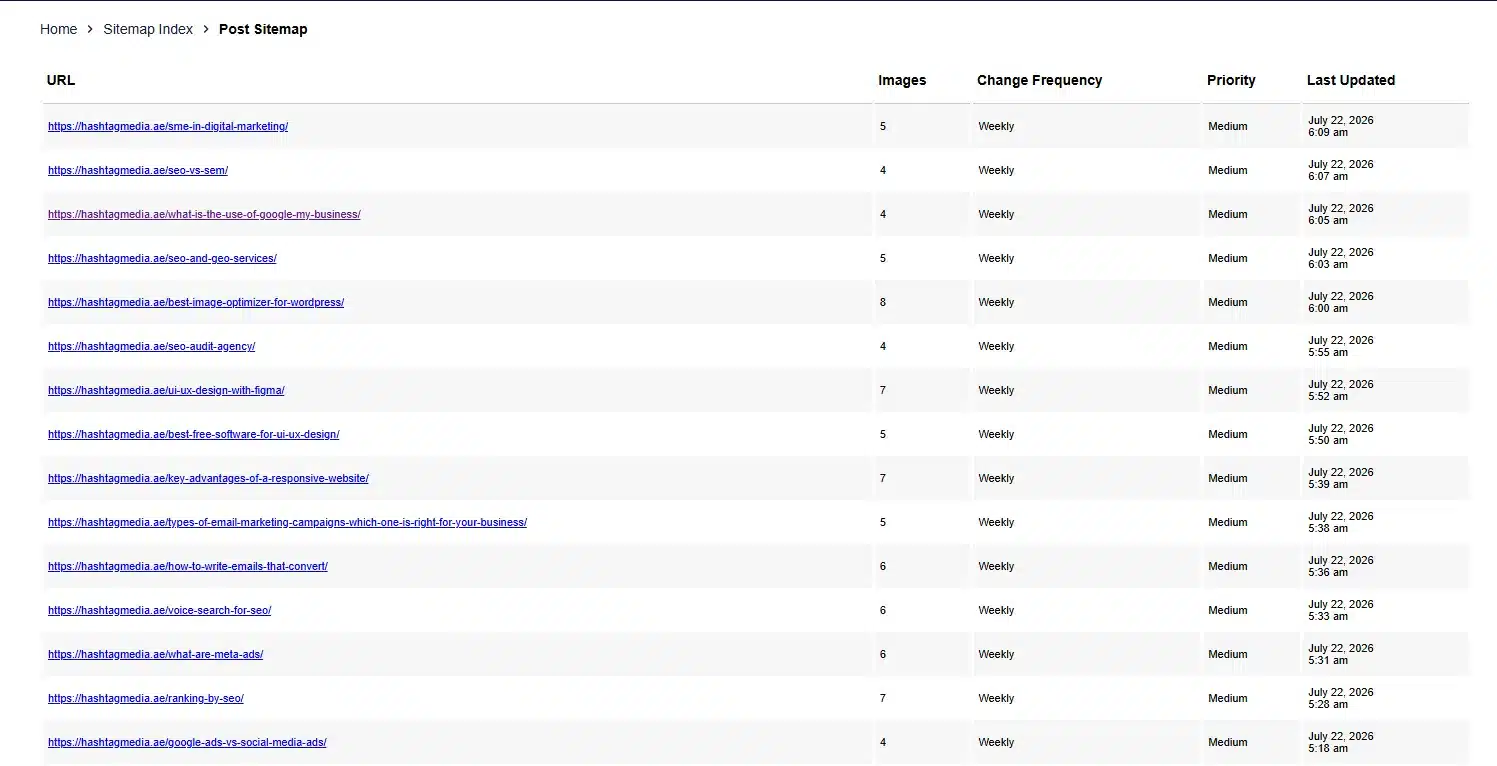
Site mapping is one of the most underrated steps in the entire process. A sitemap is a visual map of all the pages on your website. Think of it as the blueprint of your building before construction begins. It shows what pages exist and how they connect to each other.
A well-designed sitemap answers the question: Can a visitor find what they’re looking for without getting lost?
At this stage, you’ll also create wireframes. Wireframes are simple, low-detail sketches of each page layout. No colors, no images; just boxes and lines showing where content will live.
Wireframes serve one key purpose: to get structural approval before anyone starts on the visuals. This prevents expensive design rework later.
Also, this is when you choose your technology stack. Will you use WordPress? A custom-built system? Shopify for eCommerce website development? Your content management system (CMS) choice will shape how your site is built and maintained for years to come.
Step 4: Plan Website Content
Here’s something most clients underestimate: content takes time.
Solid content management starts here; not after design, not during development. Content planning should happen early, ideally alongside your structure planning. Because content shapes design, not the other way around. When content arrives late, designs get stretched. Pages look empty. Launches get delayed.
At this stage, map out:
- What content does each page need?
- Who is writing it?
- What keywords should each page target?
- What calls-to-action belong on each page?
Content isn’t just words. It includes images, videos, icons, testimonials, case studies, and any other assets your pages need.
Aim to have your core content ready before development begins. It makes everything smoother.
Step 5: Design the Website UI/UX
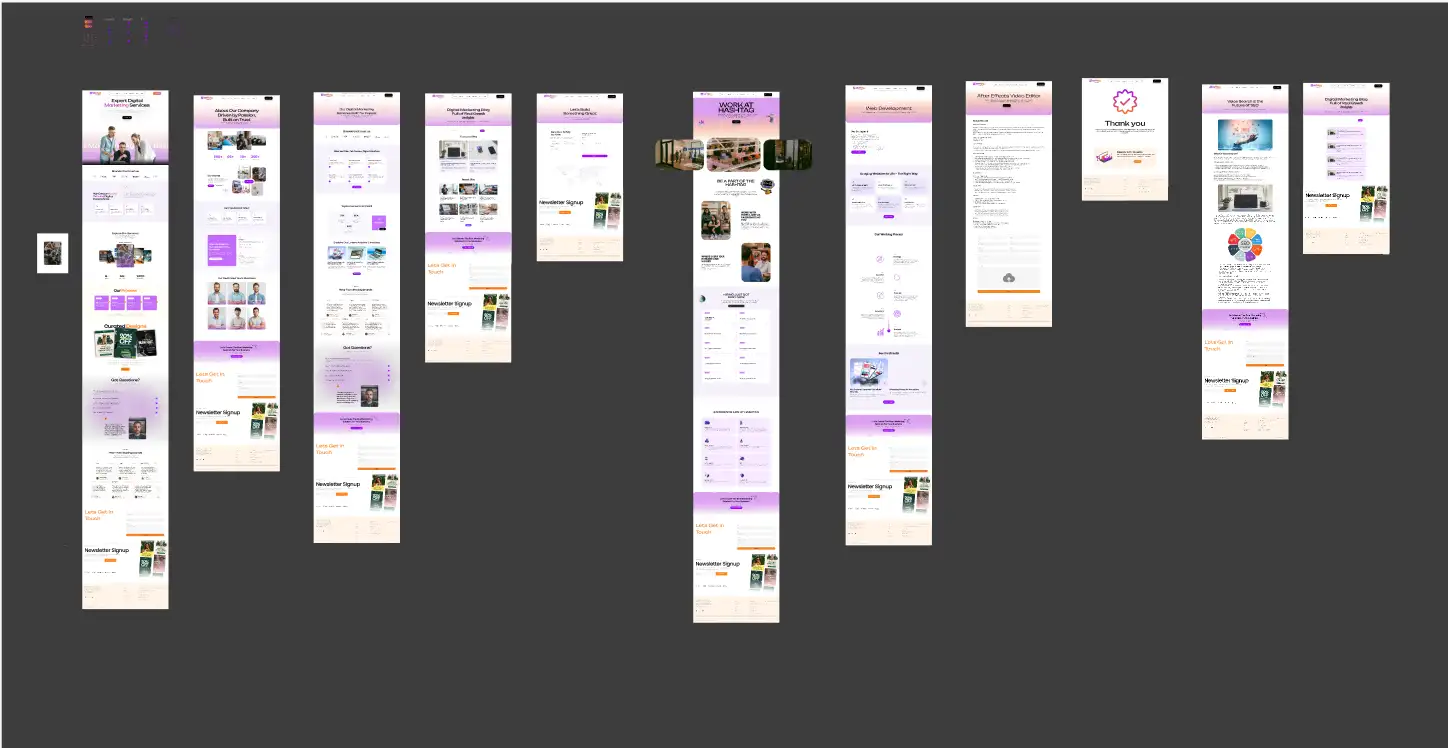
This is where things get exciting.
With the wireframes approved and the content plan in place, your designer brings the site to life visually. This phase typically involves:
- Style guide creation defining your colors, typography, icon style, and brand identity
- High-fidelity mockups — full-color, detailed page designs that closely resemble the final site
- Prototype testing — creating interactive previews so you can experience the flow before it’s built
Good design isn’t just about looking beautiful. It’s about guiding the user’s eye. Reducing friction. Building trust.
Think about front-end website design as the layer your visitors interact with directly. Every color choice, font size, button placement, and image tells a story. Front-end developer website design decisions made at this stage directly influence how much time visitors spend on your site and whether they convert.
And critically, good design performs. It loads fast. It works on mobile. Responsive design is non-negotiable today. Over 95% of homepages still fail basic accessibility checks. Building with responsive design from the start, rather than retrofitting it later, is far cheaper and far more effective.
The client reviews and approves designs before development begins. Changes are much easier at this stage than after code is written.
Step 6: Develop the Website
Now the developers take over.
Using the approved designs, your development team writes the actual code that makes your website function. Understanding the difference between what happens on the front end and how to access the back end of a website becomes very relevant here.
This typically involves:
- Front-end development: HTML, CSS, and JavaScript to build what users see and interact with. This is the front-end website layer: your menus, sliders, forms, buttons, and everything visible to the visitor.
- Back-end development: server-side logic, databases, and integrations. Back-end website design is about the systems running behind the scenes: user authentication, data storage, API connections, and the logic that ties everything together.
- CMS setup: installing and configuring WordPress (or your chosen platform)
- Plugin and feature integration: contact forms, booking systems, eCommerce solutions, payment gateways
For eCommerce website development steps specifically, this phase also covers product catalog setup, payment gateway integration, cart and checkout flows, and inventory management systems.
Strong coding standards matter here. Clean, well-structured code is easier to maintain, faster to debug, and less likely to break as your site scales. Developers should follow consistent coding standards throughout—no shortcuts.
Performance optimization is also built into this phase. Pages loading in one second convert up to three times more than pages that take five seconds. Every technical decision made during development affects that number.
Security protocols need to be built in from the start. HTTPS configuration, secure authentication, proper database handling, error handling for failed requests- these aren’t optional extras. A website with security gaps is a liability.
Step 7: Add SEO and Technical Optimization
A website nobody finds is a website that doesn’t work.
Your SEO strategies should be woven into the build, not bolted on after launch. During development, your team should:
- Set up clean, crawlable URL structures
- Add proper meta titles and descriptions to every page
- Implement heading tags (H1, H2, H3) correctly
- Add schema markup so search engines understand your content
- Compress and optimize all images with descriptive alt text
- Enable HTTPS (secure connection)
- Submit a sitemap to Google Search Console
- Ensure fast page load speeds through performance optimization
A strong website development strategy doesn’t separate SEO from development. They go hand in hand. The time you invest here pays dividends for months and years after launch.
Step 8: Test the Website Before Launch

Credit: ns804.com
Never launch a website you haven’t thoroughly tested.
This phase is your last line of defense before real visitors arrive. Good project management during this phase keeps everyone aligned on what’s been checked and what still needs attention.
A proper testing checklist covers:
Functionality testing
- Check that every link works and leads to the correct page.
- Confirm that all forms submit successfully.
- Make sure each button performs its intended action.
Browser compatibility
- Site tested across Chrome, Safari, Firefox, and Edge
- Browser compatibility issues caught before visitors find them
Cross-device testing
- Site looks correct on desktop, tablet, and mobile
- Responsive design verified across screen sizes
Performance testing
- Page speed meets benchmarks (use Google PageSpeed Insights)
- Core Web Vitals pass
End-user testing
- Real users (or team members) navigate the site fresh
- Any confusion in the flow is caught and corrected
Beta testing
- A select group previews the site before full public launch
- Feedback collected and addressed before going live
Content review
- No typos or placeholder text
- All images load correctly
- Pricing and contact info is accurate
Testing is the stage most people rush. Don’t. Issues found now cost almost nothing to fix. Issues found after launch cost time, money, and reputation.
Step 9: Launch the Website
You’ve planned, designed, built, and tested. Now it’s time to go live.
Release management at this stage ensures the go-live happens smoothly. The launch process includes:
- Transferring files to your live server (if built on a staging environment)
- Configuring the domain name to point to your site
- Running a final round of live testing
- Setting up Google Analytics and Search Console
- Verifying backups are in place
Do a soft launch first if possible. Share with a small group before blasting it to the world. Fresh eyes catch things you’ve missed.
Then announce it. Your new website is a marketing asset. Promote it on social media, in email newsletters, and through any other channels available to you.
Step 10: Maintain and Improve Your Website
Launch day is not the finish line. It’s the starting line.
A website is more like a service than a product. It needs ongoing care. Without maintenance, even a well-built site will start to slow down, break, and fall behind.
Regular maintenance includes:
- Updating plugins, themes, and CMS platforms
- Fixing bugs as they arise
- Publishing fresh content regularly
- Monitoring performance and speed
- Running scheduled backups
- Reviewing analytics and making improvements
Use your analytics data to understand how visitors behave. Which pages get the most traffic? Where do users drop off? Which pages convert best? Use these insights to make continuous improvements.
Ongoing performance optimization isn’t a luxury; it’s how your site stays competitive. Search engines reward fast, secure, and regularly updated websites. So does your audience.
A website that grows with your business is worth far more than one that just sits there.
Tools That Support a Modern Website Development Process
No team builds a website with willpower alone. Here are the tools that professionals rely on:
| Category | Tools |
|---|---|
| Design & Prototyping | Figma, Adobe XD, Framer |
| CMS & Development | WordPress, Webflow, Shopify |
| Code Editors | Visual Studio Code, JetBrains |
| Version Control | GitHub, GitLab |
| SEO & Performance | Google Search Console, Ahrefs, PageSpeed Insights |
| Analytics | Google Analytics, Hotjar |
| Project Management | Notion, Trello, Slack |
| File Sharing | Google Drive, Dropbox |
The right tools depend on your project size, team structure, and budget. You don’t need all of them. You need the right ones for your workflow.
Website Development Timeline
How long does all of this actually take? It depends on complexity, but here’s a realistic guide:
| Phase | Simple Website | Business Website | Complex Platform |
|---|---|---|---|
| Discovery & Planning | 1 week | 1–2 weeks | 2–4 weeks |
| Design | 1–2 weeks | 2–4 weeks | 4–8 weeks |
| Development | 2–4 weeks | 4–8 weeks | 8–16 weeks |
| Testing & Launch | 1 week | 1–2 weeks | 2–4 weeks |
| Total | 5–8 weeks | 8–16 weeks | 16–32 weeks |
These are estimates. Every project is different. But understanding the timeline helps you plan realistically and avoid rushing the stages that matter most.
How Hashtag Media Helps with Website Development
At Hashtag Media, we don’t just build websites. We build digital experiences designed to grow your business.
Our process follows every website development process step outlined in this guide, from discovery to post-launch optimization. We’ve worked with businesses across real estate, eCommerce, hospitality, professional services, and more, delivering websites that look exceptional and perform even better.
Whether you need a brand new website, a complete redesign, eCommerce solutions, or ongoing web support, we’re here to make it happen. Visit us at hashtagmedia.ae to get started.
Ending Remarks
Building a website is one of the most important investments your business can make. But only if it’s done right. The steps of website development aren’t arbitrary. Each one exists for a reason. Skip one, and it creates problems downstream. Rush one, and you pay for it later.
Start with clarity. Develop your website strategy before anyone opens a design tool. Plan before you design. Design before you develop. Test before you launch. And never stop improving after you do. Follow this process, and you won’t just have a website. You’ll have a digital asset that works for your business 24/7.
Frequently Asked Questions
Before we wrap up, here’s a round-up of questions that might help you.
How long does it take to develop a website?
It depends on the scope. A simple informational website can take 5 to 8 weeks; a business website, 8 to 16 weeks; and a larger platform or eCommerce website, about 4 to 8 months. Rushing the process almost always leads to problems post-launch.
What is the most important step in website development?
Discovery and planning; specifically the business analysis and website development strategy phases. Every other step depends on the clarity you establish at the beginning. If your goals, audience, and structure are well-defined, the rest of the process flows much more smoothly.
Do I need a web designer and a web developer?
Not necessarily. Many professionals are “full-stack,” meaning they handle both front-end and back-end development. For larger projects, having separate specialists often produces better results. At Hashtag Media, we have dedicated designers and developers who collaborate on every project.
What is the difference between front-end and back-end development?
Front-end development is everything the user sees: the front-end website layer with your layouts, buttons, menus, and visuals. Back-end development is everything happening behind the scenes: databases, server logic, APIs, and security protocols.
How much does website development cost?
Costs vary widely based on complexity, features, and who builds it. The key is not to find the cheapest option but to find the right team that delivers real value for your investment.